Floats are a useful tool for web developers. They’re so helpful in structuring pages and positioning items. But if they’re used incorrectly, they can also wreak havoc on the structure of the page/on the items surrounding the float. That’s why it’s super important to understand how to clear your floats. Clearing your floats means using CSS to define where a float should end so that it only applies to the appropriate elements.
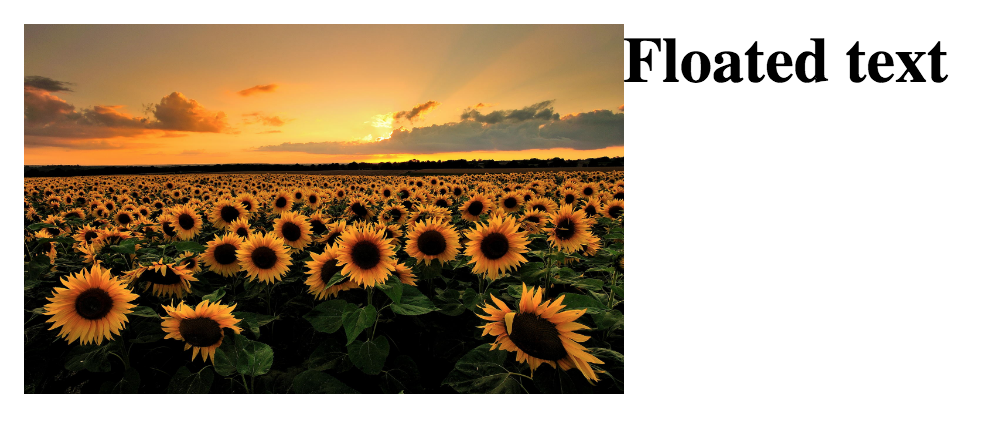
The best way to explain this is to use an example. Below you’ll see an image that has been floated to the left so that the text that follows it wraps around the image to the right. This is a nice technique for displaying images and corresponding information.
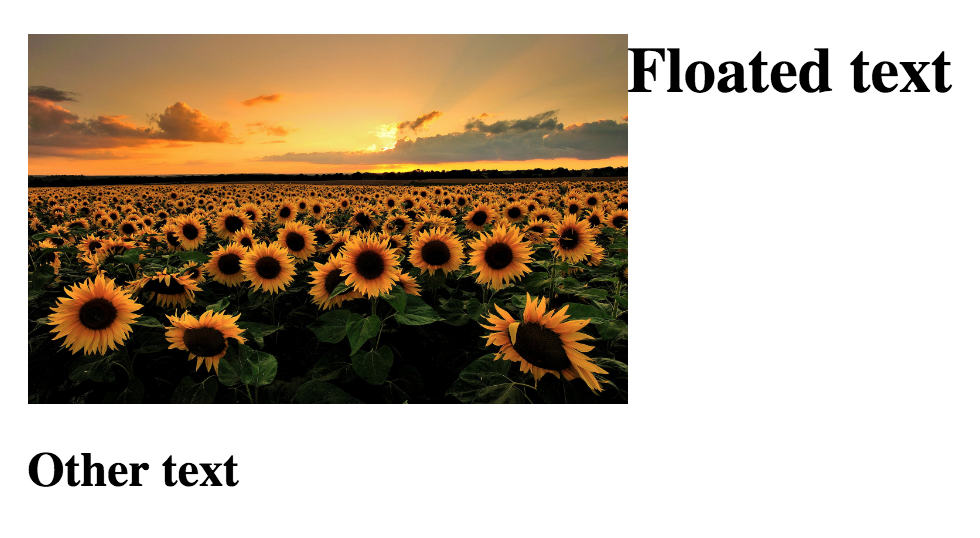
But what happens when you add another line of text after that h1 “Floated text” tag? Maybe this other line of text doesn’t correspond to the image and you want it to display like a block so that it appears underneath the image, but it appears next to the image because the float is still in effect.
The best way to fix this issue is to clear the float. To do so, you’ll need to insert this div in between the h1 “Floated text” tag and the h2 “Other text” tag:
- <div class="clear"></div>
Then in your CSS, make sure that the clear class has the following style rules applied to it:
- .clear{
- clear: both;
- }
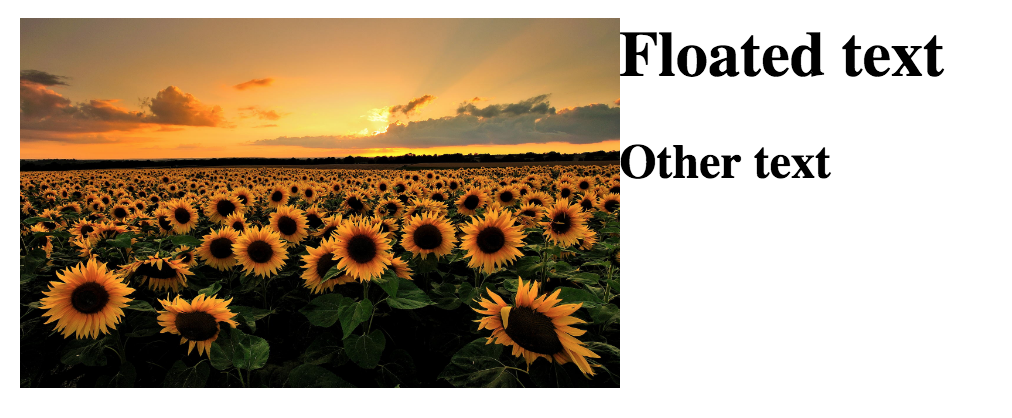
Now your HTML should render correctly, with the h2 tag appearing beneath the image rather than alongside it.